工具
QASM 转换工具
QASM接口 (OPENQASMInterface) 是用来在 QuICT 的 Circuit 类和 QASM 文件之间相互转换的。
from QuICT.tools.interface import OPENQASMInterface

# load qasm
qasm = OPENQASMInterface.load_file("/path/to/qasm/file")
assert qasm.valid_circuit   # Validate the circuit from qasm file
circuit = qasm.circuit      # Get QuICT Circuit

# Transfer Circuit into qasm
new_qasm = OPENQASMInterface.load_circuit(circuit)
new_qasm.output_qasm("/path/to/qasm/file")       # Save qasm file
QCIS 转换工具
QCIS接口 (QCISInterface) 是用来在 QuICT 的 Circuit 类与 QCIS 文件之间相互转换的。
from QuICT.tools.interface.qcis_interface import QCISInterface

# load circuit from QCIS file
qcis_circuit = QCISInterface.load_file("/path/to/qcis/file")

# Transfer Circuit into QCIS
# Through QCISInterface
qcis_string = QCISInterface.load_circuit(qcis_circuit)
# Using Circuit Class
qcis_string = qcis_circuit.qcis()
qcis_circuit.qcis("/path/to/save/qcis/file")
量子计算可视化组件
量子电路可视化
量子电路可视化是 Circuit 类的内置功能之一,它用来根据 Circuit 类里的量子比特和量子门,来画出相对应的量子电路图。
它有两种生成图像方式:
- matp: 生成 JPEG 图像,它有以下四种模式:
- matp_inline: 交互式显示图形但不将其保存到文件中。
- matp_file: 将图形保存到文件但不以交互方式显示。
- matp_auto: 根据matplotlib后端自动选择inline或file模式。
- matp_silent: 返回绘制的图形但不保存或显示。
- command: 在终端中显示文本图像
from QuICT.core import Circuit
from QuICT.algorithm.qft import QFT

circuit = Circuit(4)
circuit.random_append(10)
QFT(4) | circuit
circuit.random_append(10)
circuit.draw(method='matp_auto', filename="Quantum_Circuit")
circuit.draw(method='command')

量子电路展开显示
量子电路编译显示
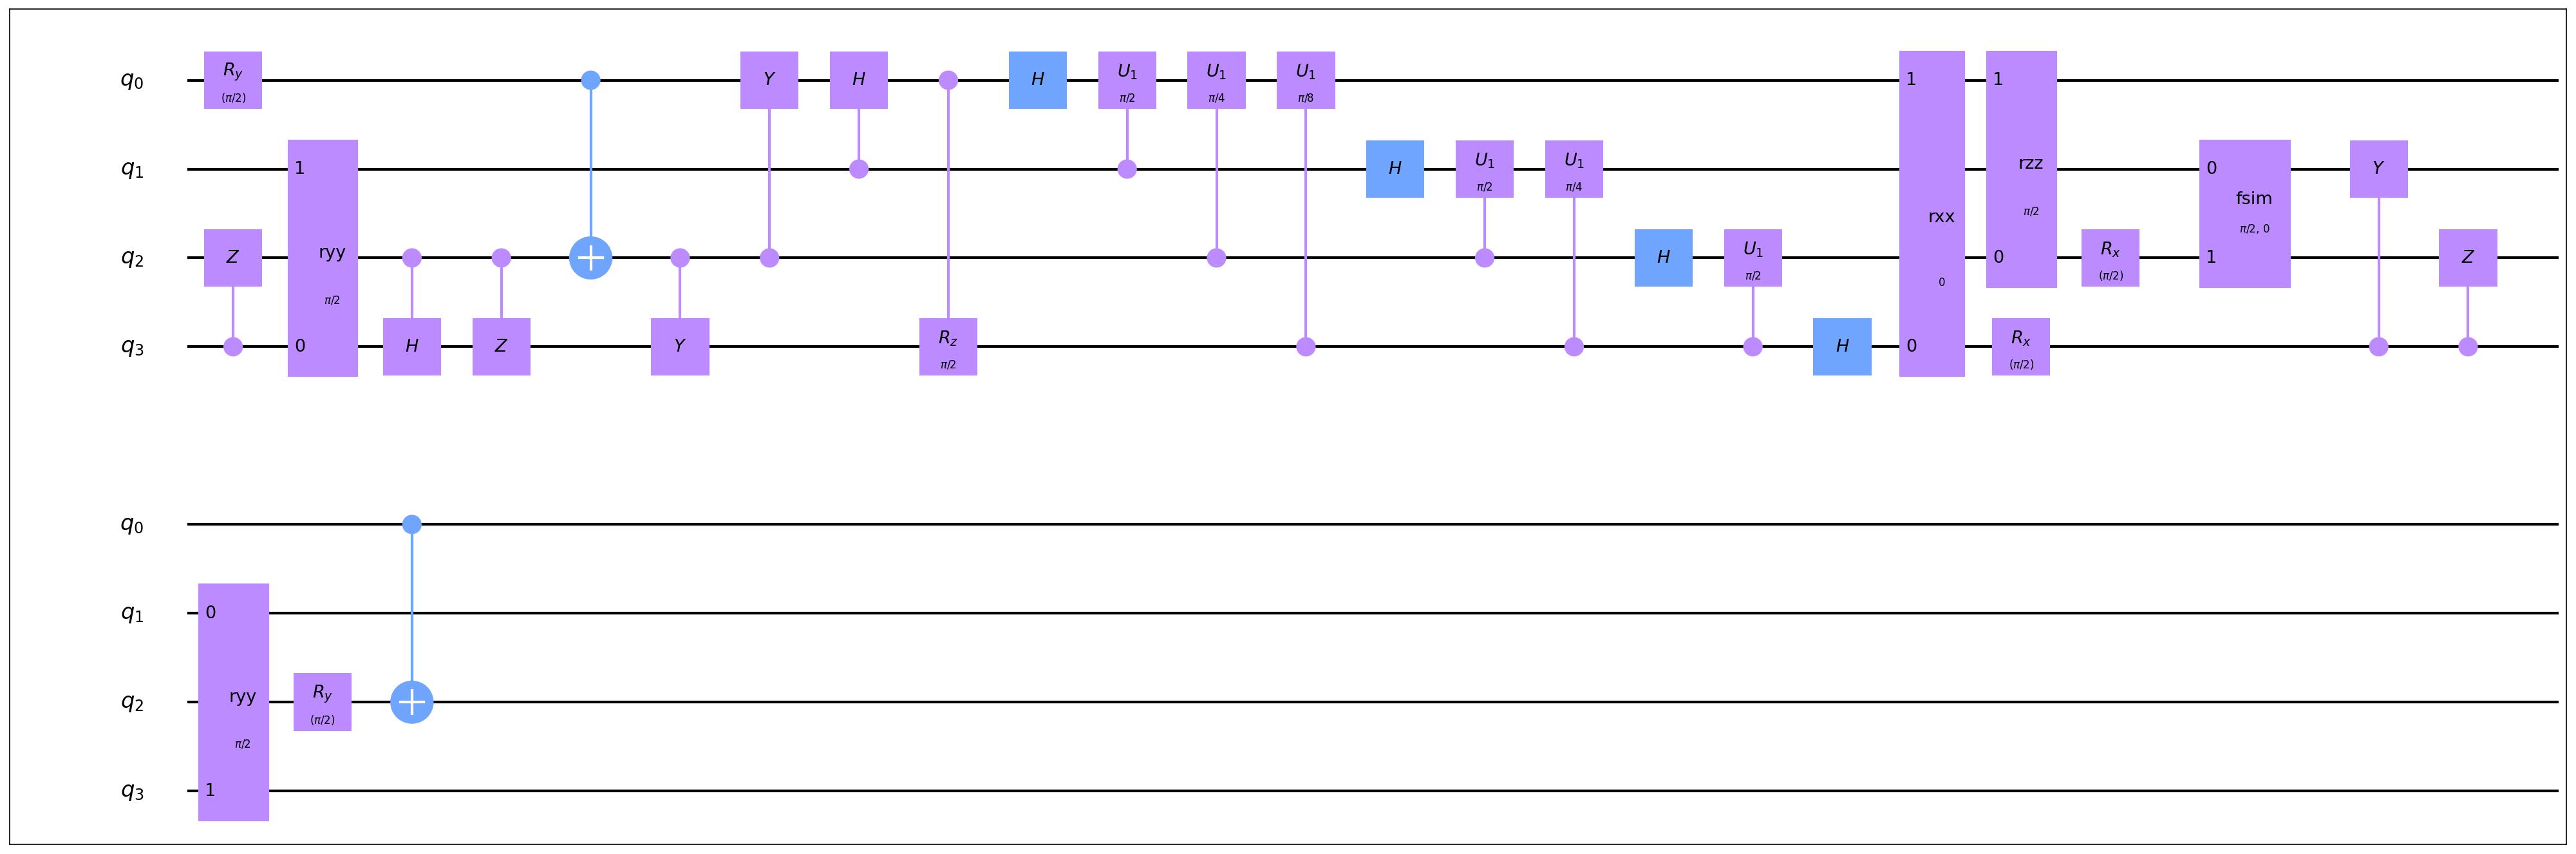
QuICT 支持标红显示不符合指令集的量子门和拓扑结构的双比特量子门
from QuICT.core.virtual_machine.quantum_machine import OriginalKFC6130
from QuICT.tools.display import amplitude_drawer, sample_drawer, display_compiled_circuit

display_compiled_circuit(circuit, vqm=OriginalKFC6130, filename="compile_circuit")
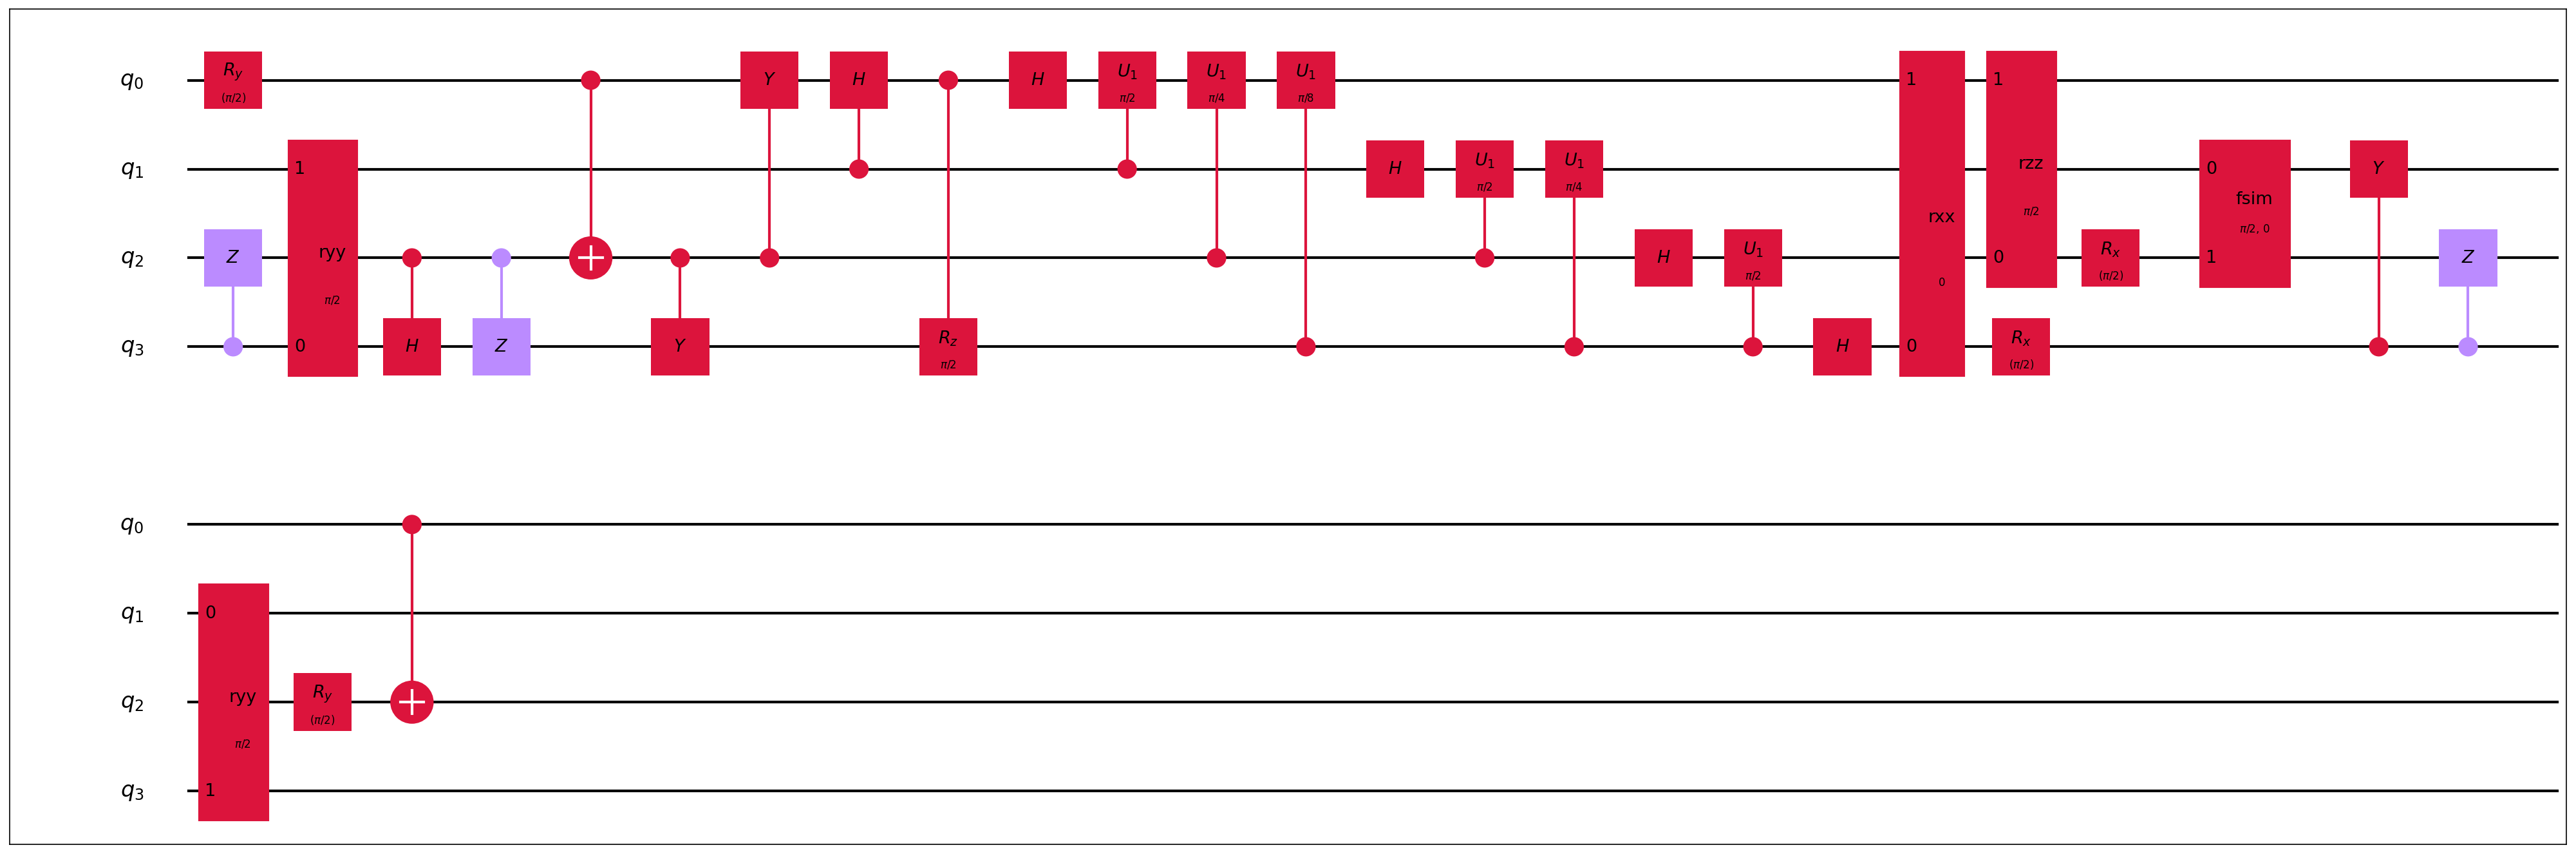
拓扑结构可视化
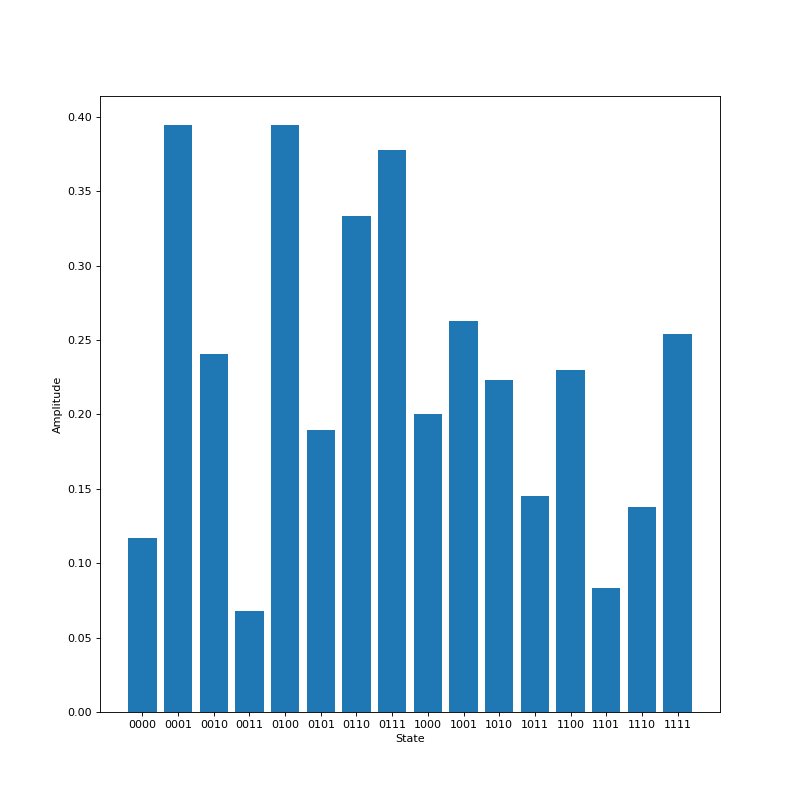
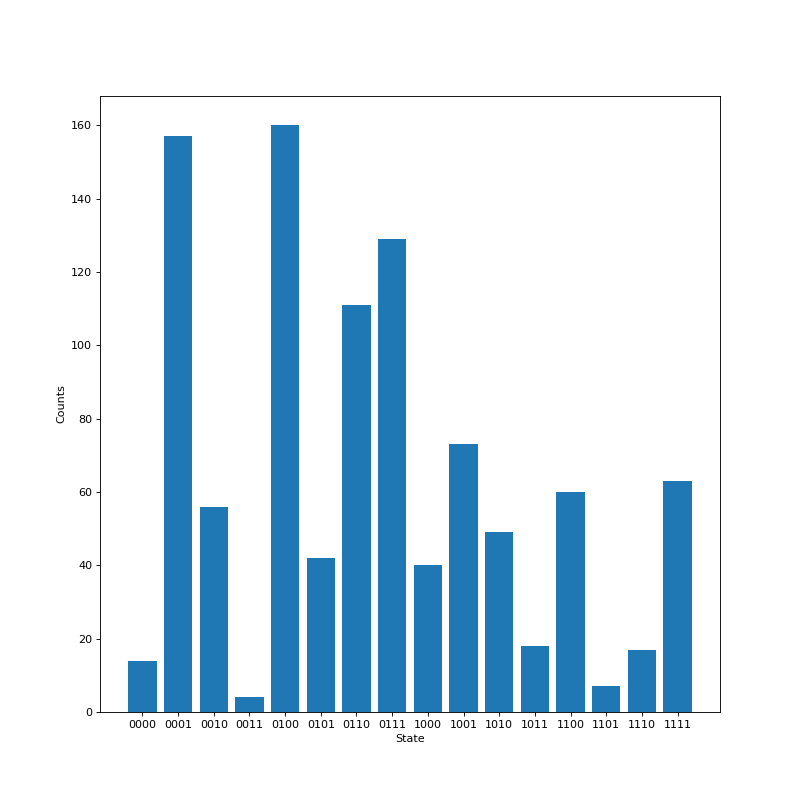
量子电路仿真模拟可视化
from QuICT.tools.display import amplitude_drawer, sample_drawer

sv = StateVectorSimulator()
amp = sv.run(circuit)
sample = sv.sample(1000)

amplitude_drawer(amp)
sample_drawer(sample)
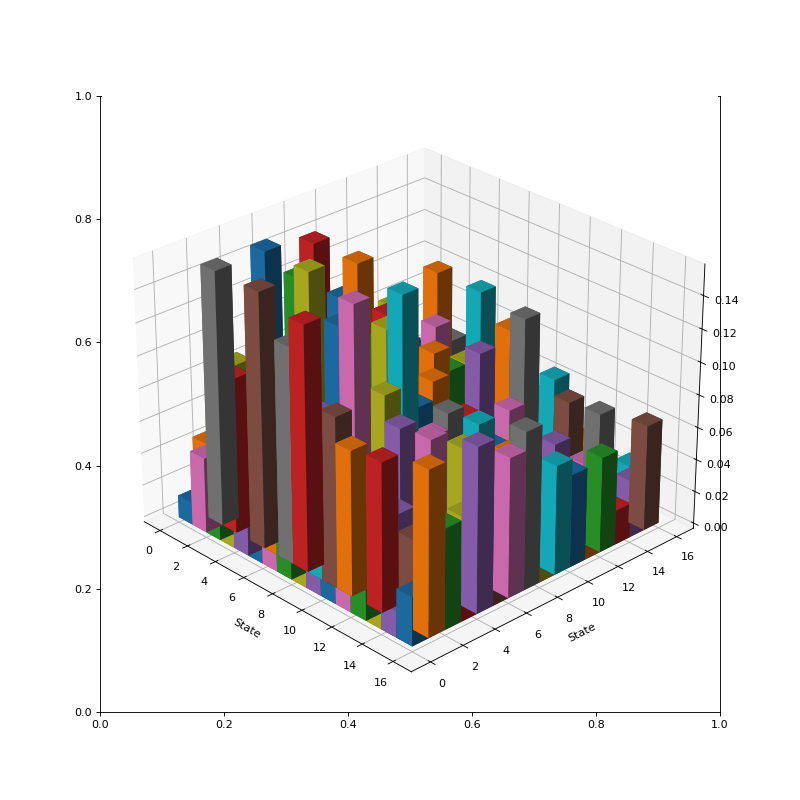
振幅/采样结构
密度矩阵
算法结果可视化
用于 QuICT内置部分算法的相关图像绘制,目前支持绘制量子态采样图, MaxCut 算法的无向无权图,以及 MaxCut 的分割结果图。
-
量子态采样图(以 Quantum Walk Search 为例)
# 导入运行库
from QuICT.algorithm.quantum_algorithm import QuantumWalkSearch
from QuICT.simulation.state_vector import StateVectorSimulator
from QuICT.algorithm.tools.drawer.graph_drawer import *

# 初始化状态向量模拟器和QuantumWalkSearch模块:
simulator = StateVectorSimulator()
qws = QuantumWalkSearch(simulator)

# 开始搜索
N = 5
sample = qws.run(index_qubits=N, targets=[4], a_r=5 / 8, a_nr=1 / 8)

# 画出采样图
draw_samples_with_auxiliary(sample, N, int(np.ceil(np.log2(N))))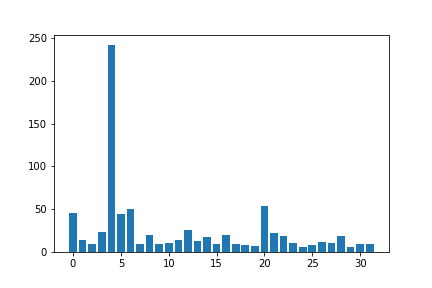
量子电路算法库
QuICT 内置了一个量子算法电路库,里面包含多种经典量子算法,例如 Grover、VQE、QFT 等。也包含若干基于物理机的随机电路和模板电路。
| 算法电路 | 比特数 | 门数 | 电路深度 |
|---|---|---|---|
| adder | 4~100,1535 | 4~132, 32745 | 4~16376 |
| clifford | 1~19 | 3~436 | 3~338 |
| grover | 4~99 | 20~2186 | 11~1507 |
| qft | 2~100 | 2~5050 | 3~199 |
| vqe | 4~50 | 22~3150 | 12~173 |
| maxcut | 4~100 | 17~7625 | 8~542 |
| qnn | 2~100 | 5~253 | 5~200 |
| quantum walk | 2~20 | 5~10959 | 5~6205 |
| cnf | 7~50 | 3~5668 | 21~3663 |
from QuICT.tools.circuit_library import CircuitLib

cir_lib = CircuitLib()
cirs = cir_lib.get_circuit("algorithm", "maxcut", [5, 10])     # 获得MaxCut算法电路,比特数为5-10
命令行界面
为了更方便也更灵活的使用 QuICT 的相关功能,我们开发了 QuICT CLI 相关功能。 QuICT CLI 一方面支持电路生成和 benchmark 测试功能,另一方面也支持单机的一键式任务部署。它构建有一套本地任务管理流程,支持相关电路优化、映射、指令集转换和电路模拟功能,在之后的开发中,它也将会支持部署相关任务到远程分布式服务器中。
-
使用 QuICT CLI
-
使用命令行指令生成并管理电路
-
使用命令行进行基准测试
-
使用命令行进行 QuICT 任务部署,包括电路模拟和电路优化、映射
- 命令行任务模板
job_name: experience-qcda           # The name of job
circuit: /path/to/circuit/qasm      # The path of circuit's qasm file
device: CPU                         # Device Type: [CPU/GPU];

simulation:
shots: 100                        # The repeat times of experience
precision: single                 # The precision of simualtor
backend: state_vector             # The backend of simualtor, one of [unitary, state_vector, density_matrix].

qcda:
methods:                          # QCDA method should within ["GateTransform", "Clifford", "CliffordRz", "Commutative", "SymbolicClifford", "Template", "CNOT"]
    - Commutative

instruction_set: Google           # Instruction Set, Extra args for GateTransform; one of ["USTC", "Google", "IBMQ", "IonQ", "Nam", "Origin"]
auto_mode: light                  # The mode for AutoOptimization, one of [light, heavy]
para: True                        # The args for CommutativeOpt
depara: False                     # The args for CommutativeOpt
templates:                        # The list of templates for TemplateOpt
    max_width: 3
    max_size: 5
    max_depth: 3

mapping:
    enable: False                   # Enable mapping or not
    layout_path: /path/to/topology  # The path of the file which store the topology

output_path: /path/to/result        # the folder to store result
- 命令行任务模板